A Practical Guide to Gold Purity Testing
So, you want to figure out how pure your gold is? This is the first and most important step in finding out what any gold item you own is truly worth. It’s all about determining the amount of pure gold within a piece, a figure we usually talk about in karats or millesimal fineness.
Why Understanding Gold Purity Is Crucial
Before you even think about testing a piece of gold, you need to know what you’re looking for. The term “gold purity” simply refers to how much pure gold is in an item compared to other metals, which are called alloys.
Here’s a little secret from the jewelry world: pure gold, or 24 karat gold, is incredibly soft. You could easily bend or scratch it, which makes it a terrible choice for something you’d wear every day.
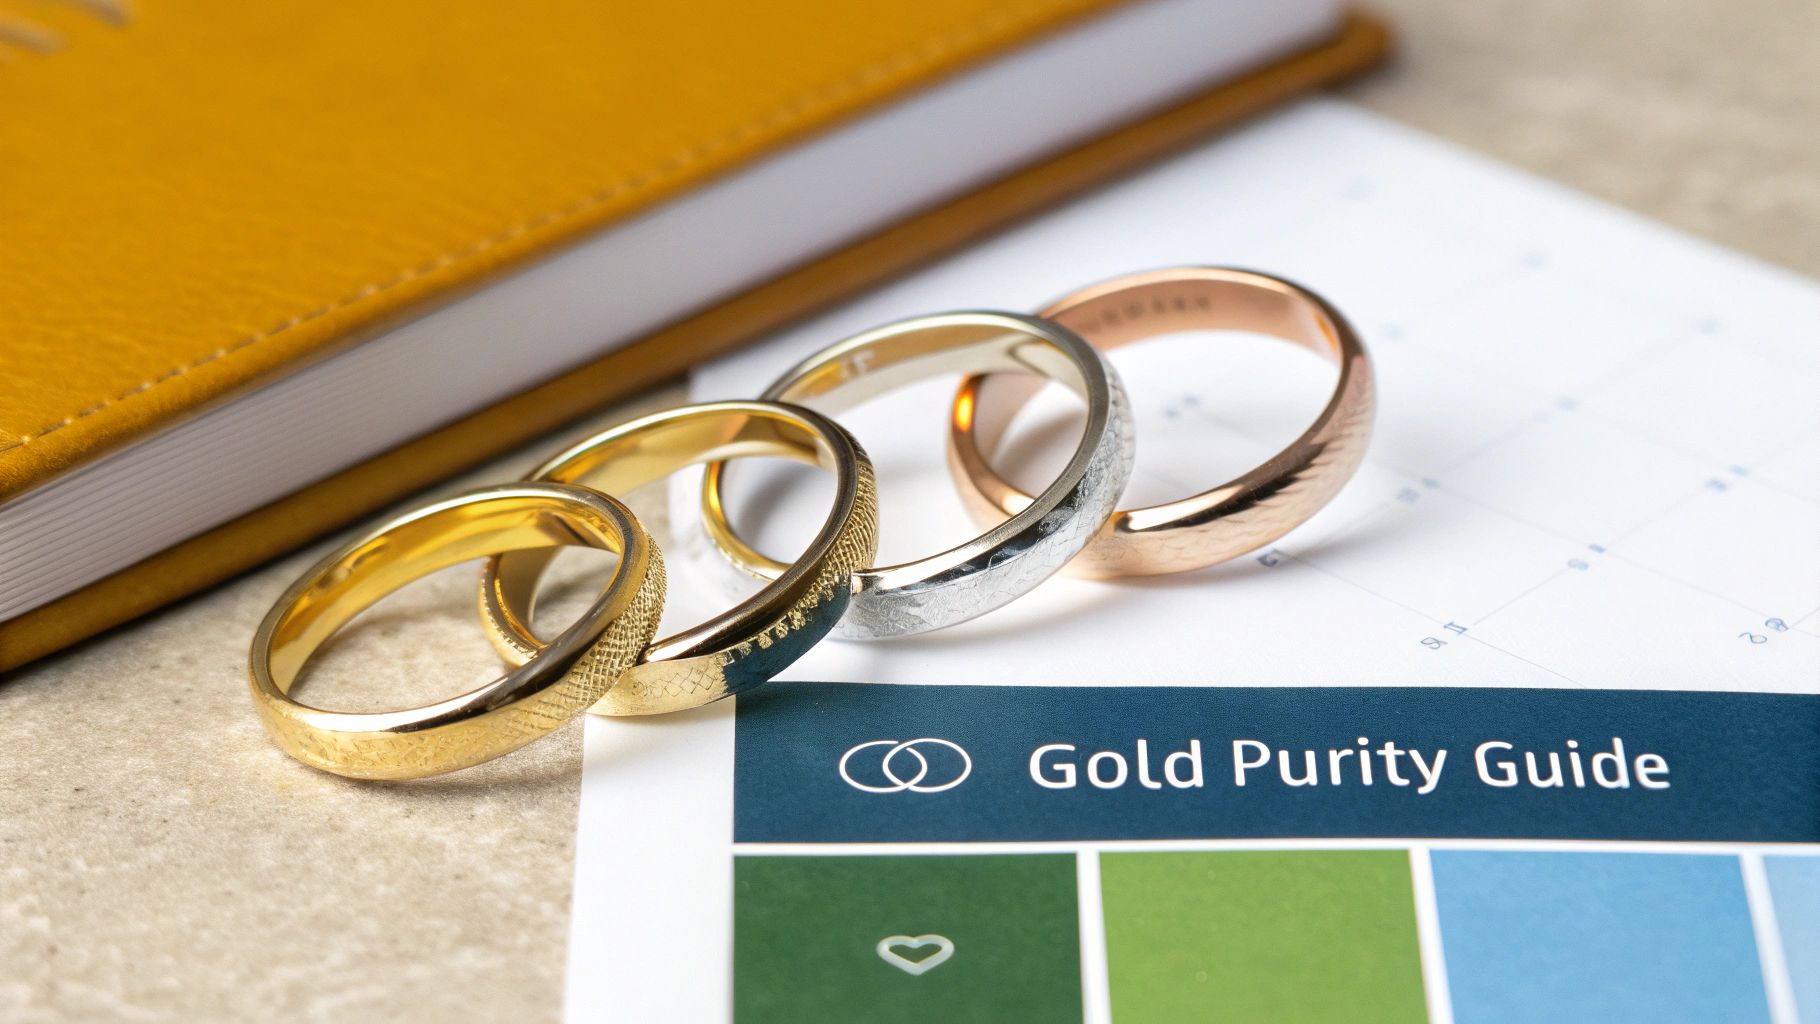
To make gold strong enough for rings, chains, and bracelets, it gets mixed with tougher metals like copper, silver, nickel, or zinc. This blend doesn’t just add strength; it also changes the final color. For instance, adding more copper gives us that beautiful, warm hue of rose gold, while mixing in palladium or nickel creates the sleek look of white gold.
The Karat System Explained
The most familiar way we measure gold purity is through the karat system, which you’ll see abbreviated as “K” or “Kt.” Think of it as a scale divided into 24 parts. So, 24K gold is considered 99.9% pure gold, while 18K gold is made up of 18 parts gold and 6 parts other metals.
This system has been the global standard for ages and is still the go to in many places, especially the United States. In fact, about two thirds of all gold jewelry sold in the U.S. is 14 karat, hitting that sweet spot of purity, durability, and price.
Millesimal Fineness An Alternative Measurement
You might also come across another standard called millesimal fineness, which measures purity in parts per thousand. You’ll often see this system used for European jewelry and on gold bullion because it’s a bit more precise.
If you see a piece of jewelry stamped with “750,” it means it contains 75% pure gold which is the exact same as 18 karat gold.
Getting comfortable with both systems is the key to quickly identifying the purity from the small stamps, or hallmarks, on your items. To get a better feel for how these purity levels stack up in the real world, check out our guide on the difference between 14k, 18k, and 24k gold.
Knowing the precise purity of your gold is the most important factor in determining its melt value. An item’s weight is only half the equation; its purity dictates the actual amount of precious metal present.
To make things even clearer, I’ve put together a simple chart that shows how the karat system and millesimal fineness compare. It’s a handy reference for quickly figuring out the purity of your gold.
Gold Karat vs Millesimal Fineness Chart
| Karat (K) | Gold Percentage (%) | Millesimal Fineness | Common Uses |
|---|---|---|---|
| 24K | 99.9% | 999 | Investment grade bullion, coins |
| 22K | 91.6% | 916 | Traditional wedding jewelry, high end pieces |
| 18K | 75.0% | 750 | Fine jewelry, luxury watches, engagement rings |
| 14K | 58.3% | 585 | Everyday jewelry, chains, bracelets |
| 10K | 41.7% | 417 | Durable, affordable jewelry like class rings |
Once you get these concepts down, you’ll be able to interpret your gold purity tests with real confidence. This knowledge puts you in the driver’s seat, making you a much more informed owner, buyer, or seller, ready to assess the true worth of any gold that comes your way.
Simple At Home Gold Purity Testing Methods
Before you rush off to a professional, a few clever, non destructive tests using things you already have around the house can give you a surprisingly good idea of whether your gold is the real deal. These initial checks are perfect for quickly weeding out the obvious fakes.
Think of that interesting piece you found at a flea market or an old ring you inherited. You don’t need a lab coat and a fancy setup to start investigating.
Start With a Visual Inspection
Your first move should always be a good, hard look at the item itself. In most countries, including the U.S., gold is legally required to be stamped with its purity, known as a hallmark. Grab a magnifying glass or a jeweler’s loupe if you have one and hunt for these tiny engravings.
On a ring, you’ll usually find the hallmark stamped on the inner band. For necklaces and bracelets, check the area around the clasp. You’re looking for a number that indicates the karat (like 10K, 14K, or 18K) or its millesimal fineness (like 417, 585, or 750).
If you spot letters like GP (Gold Plated), GF (Gold Filled), or HGE (Heavy Gold Electroplate) next to the karat mark, that’s your answer right there. It means the piece has a thin layer of gold over a different, less valuable base metal. It looks like gold, but it isn’t solid through and through.
Pay close attention to the item’s condition, too. Do you see any discoloration, especially on the edges where it would get the most wear and tear? If a different colored metal is peeking through maybe something coppery or silvery that’s a dead giveaway it’s a plated piece. Real, solid gold doesn’t tarnish or rust.
The Reliable Magnet Test
Here’s one of the quickest and easiest tests you can do. Gold is a non magnetic metal, so it won’t be attracted to a magnet. It’s a simple property, but it’s very effective at spotting fakes.
You’ll need a strong magnet for this. A standard refrigerator magnet probably won’t be powerful enough to give you a clear result. Your best bet is a neodymium magnet, which you can easily find at most hardware stores.
Just hold the magnet right up to your gold item. If you feel any pull at all, or if the item sticks right to it, you know for sure it’s not pure gold. It’s likely made of or contains magnetic metals like iron or steel.
Now, this test isn’t 100% foolproof. A clever counterfeit could be made from a non magnetic metal and then plated with gold, so it would pass the magnet test. That’s why it’s smart to use this as one of several checks, not your only one.
A common mistake is using a weak magnet and getting a false negative. Always use a magnet strong enough to definitively rule out the presence of magnetic core metals.
The Water Displacement Density Test
Ready to get a little more scientific? The water displacement test is a fantastic way to check your item’s density, and it’s based on a principle discovered by Archimedes thousands of years ago. For a home test, it’s surprisingly accurate.
Pure, 24K gold has a density of about 19.3 g/cm³. As other, lighter metals are mixed in to create lower karat alloys, the density goes down.
To run this test, you’ll need three simple things:
- A small digital scale that can measure in grams.
- A container of water, like a beaker or even just a small measuring cup.
- A bit of string or thread.
First, weigh your gold item on the digital scale and jot down its weight in grams. This is its “dry weight.”
Next, put your container of water on the scale and press the “tare” or “zero” button to zero it out. Now, tie the string around your gold piece and carefully lower it into the water until it’s completely submerged. The key here is to make sure it doesn’t touch the sides or the bottom of the container. The weight that now shows on the scale is the volume of your item in cubic centimeters.
Finally, just divide the item’s dry weight by its volume (the weight you recorded in the water). That’s your density!
For example, let’s say you have a chain that weighs 38 grams dry. When you submerge it, the scale reads 2.8 grams. The math is simple: 38 / 2.8 = 13.57 g/cm³. Now, you can compare this result to a density chart.
Gold Karat Density Ranges
| Karat | Gold Purity (%) | Density Range (g/cm³) |
|---|---|---|
| 10K | 41.7% | 11.0 to 12.0 |
| 14K | 58.5% | 12.9 to 14.6 |
| 18K | 75.0% | 15.2 to 15.9 |
| 22K | 91.6% | 17.7 to 18.6 |
| 24K | 99.9% | 19.1 to 19.3 |
Looking at our table, a density of 13.57 g/cm³ falls squarely in the range for 14K gold.
While these at home methods are great starting points for testing gold purity, they do have their limits. For a truly definitive answer, especially if you’re dealing with a high value item, you might need to move on to more precise, professional methods.
The Nitric Acid Test: A Deeper Dive
So, the magnet and density tests gave you some good initial clues, but you need a more definitive answer without sending your gold off to a lab. This is where the nitric acid test, also known as the touchstone method, comes into play. It’s the classic technique jewelers have trusted for centuries to test gold purity.
This method uses chemicals, so safety is absolutely non negotiable. Before you even think about cracking open a testing kit, let’s get you and your workspace prepped properly.
Essential Safety Precautions
Working with nitric acid demands respect. Even the diluted solutions in testing kits can irritate your skin or permanently damage surfaces if you’re not careful.
- Protect Your Eyes and Skin: Always wear safety goggles and chemical resistant gloves. A tiny splash is all it takes to cause a nasty burn, so don’t skip this.
- Ensure Proper Ventilation: Work in a well ventilated space, ideally near an open window or even outdoors. The last thing you want is to be breathing in any fumes.
- Prepare Your Workspace: Cover your work surface with something protective, like a plastic tray or a few layers of newspaper. This will catch any accidental drips and save your furniture.
The touchstone method is one of the oldest forms of chemical analysis, used for over 2,000 years by ancient civilizations to verify gold. Its long history shows just how timeless the need for reliable gold testing is, even before modern tech existed. You can learn more about the historical roots of gold testing on YouTube.
This infographic gives you a quick rundown of the preliminary at home tests you should always do before jumping to a more involved method like the acid test.
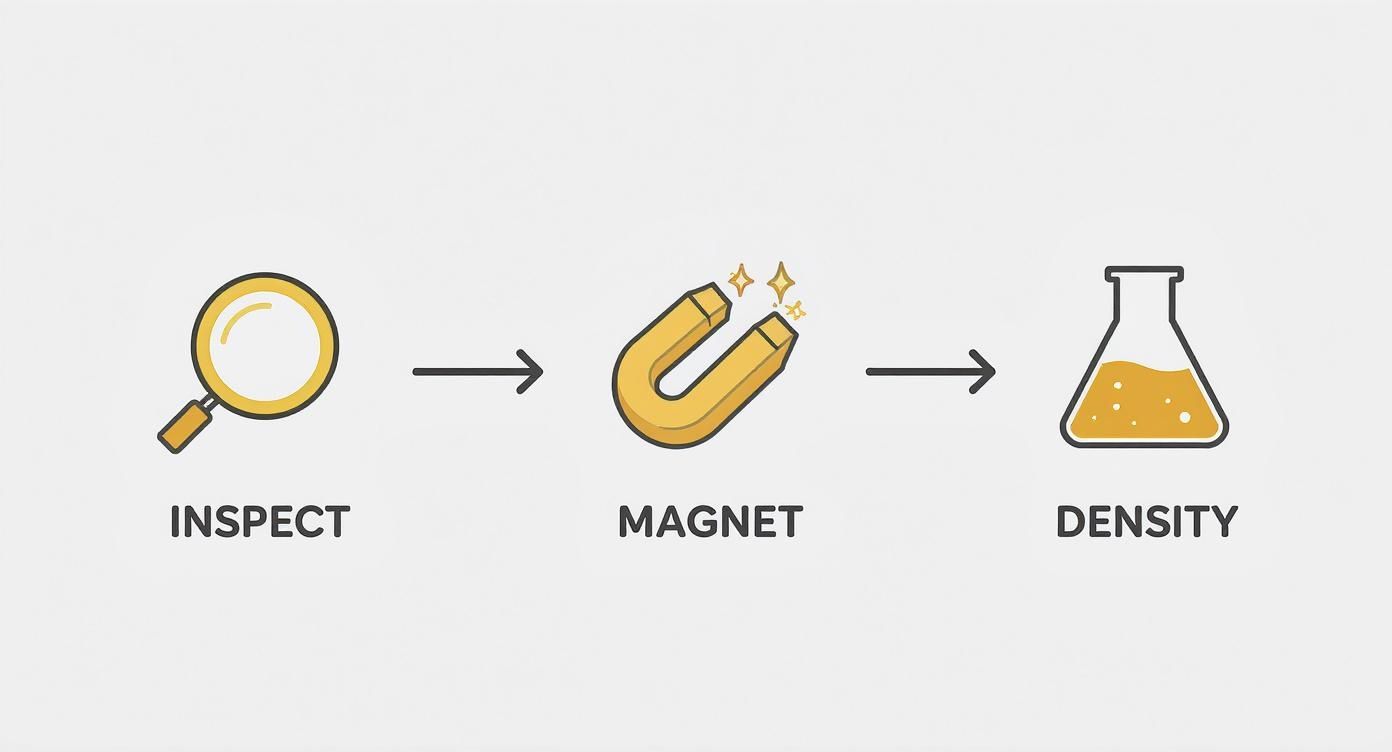
Running through these simple, non destructive steps first can often weed out the obvious fakes, saving you the time and effort of an acid test.
Performing The Touchstone Test
Gold testing kits are easy to find online. They usually come with a set of small bottles of acid, each labeled for a different karat (10K, 14K, 18K, 22K), and a black touchstone. This fine grained stone is hard enough to gently shave off a tiny sample of metal without damaging your item.
First, find an inconspicuous spot on your piece the inside of a ring or near the clasp is perfect. Rub the item firmly against the touchstone to create a visible streak of metal. You’re aiming for a thick, clear line about an inch long.
Next, it’s time to apply the acid. A good rule of thumb is to start with the acid that matches the karat you think the item is. For instance, if you have a ring you believe is 14K, grab the 14K acid solution. Apply a single, small drop directly onto the metal streak you made on the stone.
Now, watch the reaction closely. The way that streak of metal responds to the acid is what will reveal its purity.
How To Interpret The Acid Test Results
The chemical reaction or lack thereof tells you everything. Honestly, learning to read these reactions is the most crucial part of this whole process. I’ve put together a simple table to help you interpret what you’re seeing on the stone.
| Acid Reaction on Touchstone | Interpretation of Gold Purity |
|---|---|
| Streak Dissolves Immediately | The item’s purity is lower than the karat of the acid you used. If 14K acid makes the streak vanish, it’s definitely not 14K gold. |
| Streak Fades Slowly | The purity is slightly lower than the acid’s karat. It might be 12K gold if it fades slowly under 14K acid. |
| Streak Remains Unchanged | The item’s purity is at least the karat of the acid used. If 18K acid has no effect, your gold is 18K or higher. |
| Fizzing or Turns Green | This is a dead giveaway for a non gold base metal. The item is likely gold plated, and the acid is reacting with the cheap metal underneath. |
Let’s walk through a real world scenario. Imagine you’re testing a gold chain you inherited that you believe is 18K. You make your streak and apply the 18K acid. If the streak holds strong and doesn’t change, your hunch is probably right. To be extra sure, you could then apply 22K acid; if that acid makes it dissolve, you’ve just confirmed the piece is 18K.
A common trap people fall into is getting fooled by heavy gold plating. A thick outer layer might resist lower karat acids at first. This is why it’s so important to make a deep enough streak on the touchstone you have to be sure you’re testing the metal beneath the surface. When done with care, this classic method gives you a remarkably reliable estimate of your gold’s purity.
When It’s Time to Call in the Pros for Gold Testing
While the home tests we’ve covered are great for getting a quick read on an item or just satisfying your curiosity, there comes a point where “pretty sure” isn’t good enough. You need absolute certainty.
If you’re dealing with high value items, estate jewelry, or any situation where a serious financial decision is on the line, it’s time to trust the professionals. They use advanced techniques that refineries, high end jewelers, and appraisers rely on for dead on accuracy.
Making that leap from a DIY check to a professional appraisal is essential when the stakes are high. This is especially true if you’re preparing to sell a large collection, need an official appraisal for insurance, or are dividing an estate. Reputable buyers and institutions won’t accept a home acid test result; they require scientific proof. This is a critical step when you’re figuring out where to sell gold for the highest price, as the best buyers will always use these precise methods.
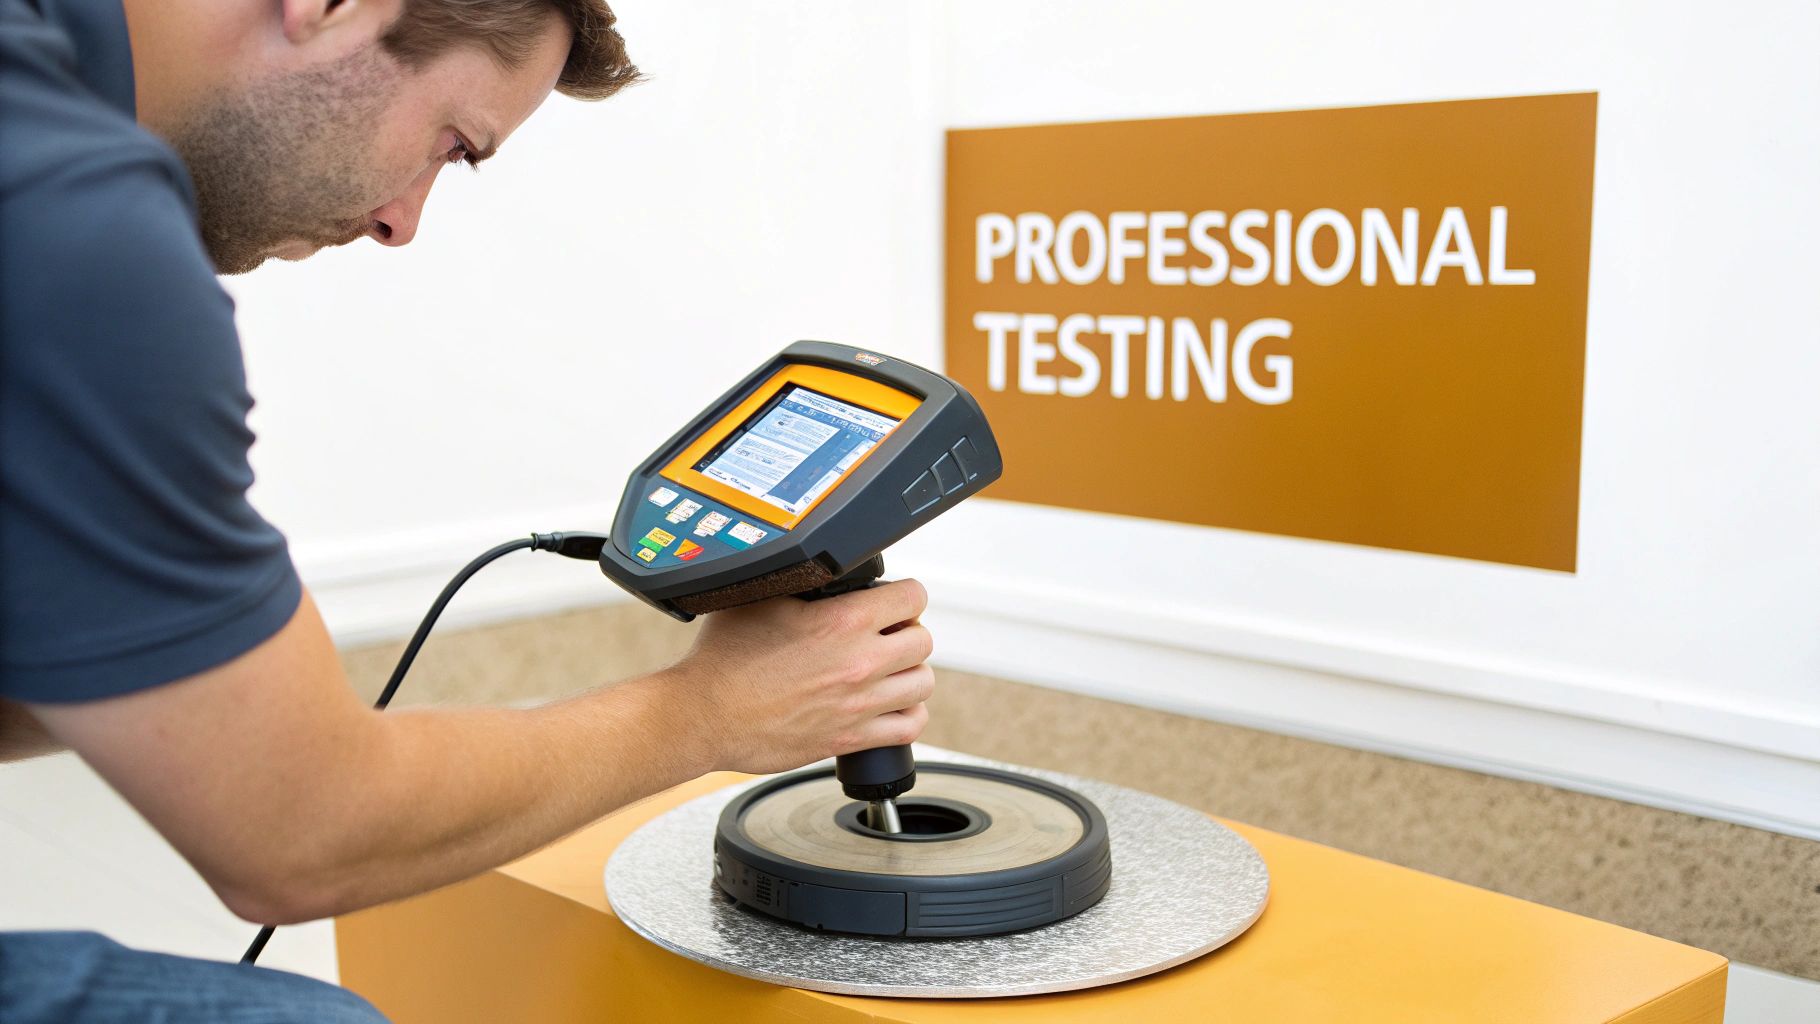
X Ray Fluorescence: The Non Destructive Standard
One of the most trusted tools in a professional’s kit is the X Ray Fluorescence (XRF) analyzer. Think of it as a high tech scanner for precious metals. This impressive device shoots a beam of X rays at your gold item, causing the atoms in the metal to get excited and give off their own unique energy signatures.
The XRF machine reads these signatures and, within seconds, spits out a detailed breakdown of the item’s exact elemental composition. It will tell you the precise percentage of gold, silver, copper, nickel, zinc whatever is in the alloy.
The best part? It’s completely non destructive. The XRF analyzer doesn’t leave a single scratch or mark on your item, making it the perfect method for delicate antique pieces, valuable coins, or anything you’d never want to damage.
Modern scientific methods like X ray fluorescence (XRF) and fire assay have revolutionized gold purity testing, offering accuracy within 0.1% for high value transactions. In fact, a study from the Gemological Institute of America found that while common electronic testers are useful, their precision can decline outside the 10K to 18K range, whereas advanced methods maintain their accuracy. You can discover more insights about the methods for determining gold content on GIA.edu.
Fire Assay: The Ultimate Purity Test
When there can be absolutely no doubt about purity, the fire assay is the final word. It’s the oldest and most definitive method out there, considered the “gold standard” by mints, refineries, and major players like the London Bullion Market Association (LBMA). In fact, it’s required for their “Good Delivery” bars, which are the backbone of the global gold trade.
This level of precision comes at a price, though the fire assay process is destructive. It involves taking a small sample of the gold, melting it in a furnace with lead and other materials, and chemically separating the pure gold from every other metal. The tiny bead of pure gold that remains is then weighed to determine the exact purity with incredible accuracy, often to within 0.01%.
Because it requires destroying a piece of the item, this method is typically reserved for bullion, raw gold, or scrap metal where the item’s form doesn’t matter as much as its intrinsic value. You wouldn’t fire assay your grandmother’s heirloom ring, but a refinery would absolutely use it to verify a 400 ounce gold bar before a multi million dollar transaction.
Comparing Professional Gold Testing Methods
So, which professional test is right for your situation? It really boils down to the item itself and why you need it tested. You’re often trading off between preserving the item and getting maximum precision.
Here’s a simple breakdown to help you understand when each method shines.
| Testing Method | Process Summary | Best For | Key Advantage |
|---|---|---|---|
| X Ray Fluorescence (XRF) | Scans the item with X rays to identify its elemental makeup without any damage. | High value jewelry, antique pieces, coins, and watches. | 100% Non Destructive |
| Fire Assay | Melts a sample of the gold to physically separate pure gold from other alloys. | Bullion bars, scrap gold, and raw materials for refining. | Unmatched Accuracy |
Ultimately, knowing when to call in the professionals is just as important as knowing how to perform a simple test at home. For any item with significant monetary or sentimental value, investing in a professional appraisal is the only way to get the peace of mind that comes with a scientifically verified result.
Calculating the Value of Your Gold
Okay, you’ve done the hard part. After all the inspecting and testing, you’ve nailed down your item’s authenticity and its true karat. Now for the rewarding part turning that knowledge into an actual dollar amount.
Figuring out the melt value of your gold is what empowers you. It gives you a clear baseline of what your assets are worth before you even think about selling or insuring them. The process isn’t complicated, but it does require a bit of precision. You’ll need just three things: the item’s purity (karat), its exact weight in grams, and the current market price of gold.
From Karat to Pure Gold Content
First things first, you need to translate your gold’s karat value into a simple percentage. The whole karat system is based on 24 parts, where 24K is pure gold. So, to find out how much pure gold is really in your item, just divide its karat by 24.
Let’s say you have a 14K gold chain. The math is simple: 14 / 24 = 0.583. This tells you the chain is 58.3% pure gold. The other 41.7% is a mix of other metal alloys. This percentage is the key to unlocking your item’s true gold content.
Here’s a quick reference for the most common karat values you’ll run into:
| Karat Value (K) | Calculation | Gold Purity Percentage |
|---|---|---|
| 10K | 10 ÷ 24 | 41.7% |
| 14K | 14 ÷ 24 | 58.3% |
| 18K | 18 ÷ 24 | 75.0% |
| 22K | 22 ÷ 24 | 91.6% |
Putting It All Together: A Practical Example
Let’s walk through a real world scenario. Imagine you have that same 14K gold chain and you’ve put it on a digital scale. The final weight is exactly 15 grams. The last piece of the puzzle is the current spot price of gold, which changes daily. For our example, let’s assume today’s price is $75 per gram for pure, 24K gold.
Now, we just plug those numbers into a simple, two step calculation.
Calculate the pure gold weight: Multiply the chain’s total weight by its purity percentage. In this case, it’s 15 grams x 0.583 = 8.745 grams of pure gold.
Determine the total melt value: Now, multiply that pure gold weight by the current spot price per gram. So, 8.745 grams x $75/gram = $655.88.
And there you have it. The estimated melt value of your 15 gram, 14K gold chain is $655.88. It’s that straightforward.
Understanding this calculation is your single best tool for getting a fair deal. While buyers typically offer a percentage of the melt value often between 70% to 95% to cover their costs knowing the full value gives you a powerful, non negotiable starting point.
This process gives you a clear and accurate baseline for your item’s worth. For a more detailed breakdown of all the factors involved, you can learn more about how to calculate gold price in our comprehensive guide. Armed with this information, you can walk into any negotiation with total confidence.
Common Questions About Gold Purity Testing
Even with the best guide in hand, a few questions always seem to pop up when you’re in the middle of testing gold. That’s completely normal. The more you understand the little details, the more confident you’ll be in your results. I’ve pulled together some of the most common questions I hear to give you clear, practical answers.
Think of this as your go to reference for those “what if” moments. We’ll clear up any lingering confusion so you can move from inspection to valuation without a hitch.
Can Gold Plated Items Pass At Home Tests?
This is a big one, and the short answer is: yes, sometimes they can. A heavily gold plated item can be tricky because it might pass a simple visual check or the magnet test. Since the outer layer is genuine gold, a weak magnet won’t stick, and you might even find a hallmark that looks legitimate, often with misleading letters like HGE (Heavy Gold Electroplate).
This is precisely why you can’t rely on just one test. A plated item will almost always fail a more rigorous test, like the nitric acid scratch test or an XRF scan. When the acid hits the scratch, it bypasses the thin gold layer and reacts with the base metal underneath. You’ll often see fizzing or a green discoloration a dead giveaway that you’re not dealing with solid gold.
The biggest mistake people make is stopping after one test. A reliable conclusion comes from combining methods: a visual inspection, the magnet test, and a more definitive test like the acid scratch test.
Why Did My Gold Turn Black After Testing?
If your item turns black or darkens during a test, that’s a very strong sign it isn’t real gold. This reaction is most common during an acid test, but it can even happen with prolonged exposure to something as simple as vinegar.
Pure gold is a “noble metal,” which means it’s incredibly resistant to corrosion, oxidation, and acid. When you see discoloration, it’s not the gold reacting; it’s the other metals in the alloy (like copper or nickel) or the base metal in a plated piece. Real gold, whether it’s 10K or 24K, shouldn’t change color when the correct testing acid is applied.
Is One Testing Method Better Than Another?
The “best” method really comes down to your specific situation. You have to balance what you need accuracy, cost, and whether you can risk damaging the item. Each technique has its place, and knowing when to use which one is the key to a good evaluation.
To make it easier, here’s a quick breakdown of the most common methods and what they’re best for.
| Testing Method | Best For Quick Checks | Best For High Value Items | Accuracy Level |
|---|---|---|---|
| Magnet Test | Yes | No | Low |
| Acid Test | Yes | Moderately | Medium to High |
| XRF Analysis | No | Yes | Very High |
| Fire Assay | No | Yes | Highest Possible |
For most everyday jewelry or scrap gold you might have, combining a few at home tests, including the acid test, is usually enough to get a solid answer. But if you’re dealing with something that has significant monetary or sentimental value, nothing beats the peace of mind you get from a professional XRF scan. It’s a precise, non destructive analysis you can completely trust.
Ready to turn your test results into a real number? The Gold Calculator provides instant, accurate melt value estimates based on live market prices. Get a transparent valuation in seconds. Calculate the value of your gold now.